
Install Guide (Please also refer video available in the webpage).
- Unpack the box
- Plug in the black USB Telephony accessory to the top-left usb port.
- Connect your telephone cable to the USB Telephony RJ11 port and to your wall-jack.
- Plug in the mini-usb power cable to the DPFax mini-usb port.
- Plug in the RJ45 UTP ethernet cable to the DPFax LAN port and to your network switch port. This could be your UNIFI modem or router.
- Ensure that your ethernet network cable is DHCP enabled. DPFax device will get the IP setting automatically from your local DHCP server.Normally your home or office wireless router will act as a DHCP server.
- Power on the DPFax – MiniFaxServer device. Notice the LED infront of the device. It will blink red for a moment and turn tu amber and then to green. Green means the device is functioning and there is background activity running.
- Wait for few minutes until you see the blinking green LED. The device will take about 5-10 minutes to initialize.
- Wireless will be the only connection available for the initial setup of the device. Therefore your PC/MAC need to have wireless connectivity to configure DPFax device. From your PC/Mac, enable your PC/MAC wireless connectivity.
- Your DPFax – MiniFaxServer has a built-in wireless capability. It will broadcast a wireless SSID name : dpfax – minifaxserver . Browse thru the available wireless LAN list. You shall find the SSID. Example as below:
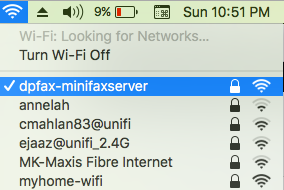
- Connect to the dpfax – minifaxserver default SSID via your PC/MAC. The default wireless key is : dpfaxwifi
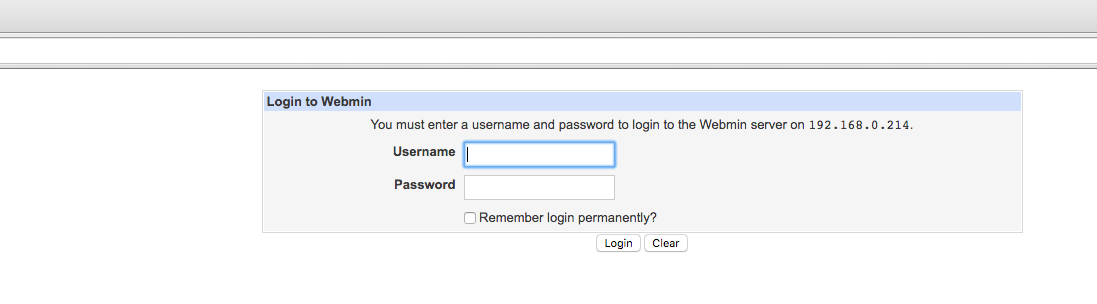
- Open your web browser to the device administration page. This is the default IP address/URL accessible via wireless once you are connected to the given wireless SSID. : https://192.168.10.1:10000/

- Login using default account – login: admin & password: admindpfax
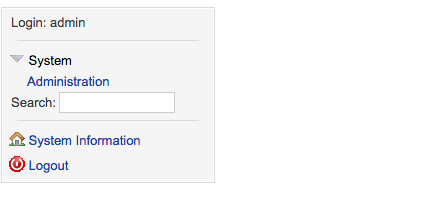
- Once logged in to the admin page, click on the left menu section. Click System -> Adminstration – > Update Email
- Insert your valid email address and click ‘Update Email’ button.
- The DPFax – MiniFaxServer will send you a notification email to your given email address. Please check your email for further instructions.
- The given email address will also become the fax master which will be receiving incoming fax via email.
- You can start using the DPFax – MiniFaxServer by accessing http://192.168.10.1/ (Wireless LAN) or by the detected IP address (LAN ethernet) notified in the email. The detected IP address varies base on your local area network settings. You an also check the DPFax IP address via the administration page. (refer instruction #12). Click System ->Administration-> Check IP Address.
- Note that, we suggest you to connect to the DPFax – MiniFaxServer via the detected IP address (LAN ethernet).
- Start configuring your device. Send and receive fax right away!
Note:
- We suggest you to install a surge or lightning arrestor/protector, since your telephone line might be connecting to PSTN copper line, which sometimes are prone to lightning.
- You should change your default wireless key, and remember it. We can’t help if you lose it. This is a safety measure to disable anyone from stealing and reuse your DPFax – MiniFaxServer.
- As for this moment, all DPFax – MiniFaxServer supports analog PSTN line. So if your telephone provider uses VoIP channels, it will not work.
- You may need to use splitter to split between your phone and your DPFax device.
- You may need to allow SMTP outbound for the devices to send out fax attachment to your specified email address.
Frequently Asked Questions:
1. Q: How to access DPFax Web Interface from the Internet?
A: You need to configure your broadband or network router to allow Port Forwarding to the DPFax device. This settings is depending on your type of your router/firewall.
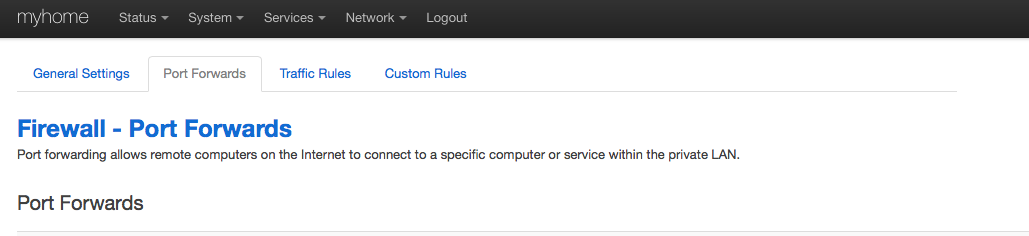
Once port forwarding is configured, you can access your DPFax device from this URL hostname via web browser-> http:// blackbox-yourdevice ID.localcloud.asia

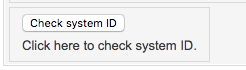
2. Q: How can I check my device ID?
A: Open the DPFax administration page via web browser.
If you are using wireless and connected to the default SSID wireless dpfax-minifaxserver, the URL is : https://192.168.10.1:10000
If you are using and connected to your local area network, the URL is : https://the_detected_LAN_IP_address:10000/

Login to the admin interface.
Once logged in to the admin web page, click on the left menu: Click System -> Administration -> Check System ID
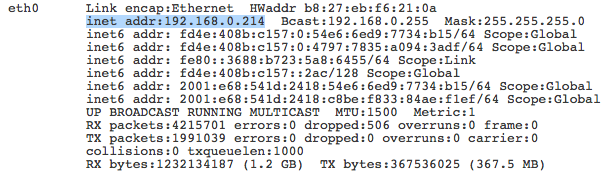
3. Q: How can I check the LAN network IP address of the device (connected via network cable)?
A: Once logged in to the admin web page, click on the left menu: Click System -> Administration -> Check IP Address

Once clicked, your IP address will be displayed. Your IP address would be almost similar to the blue coloured section. This actual IP might be different base on your LAN setting.
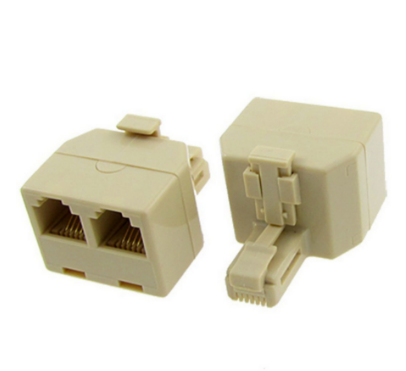
3. Q: Can I connect DPFax to my existing telephone socket, and still using my telephone for incoming/receiving phone calls?
A: Yes, you still can use your telephone set for incoming/receiving calls. Please use a port splitter (refer image below) to connect to your telephone socket and split it to your telephone and DPFax device.
Device Typical Connectivity Diagram:

Troubleshooting:
- If the modem seems not working, please disconnect the USB telephony modem device, and connect to different USB port.
- Power-cycle the device by switching off and on the electrical switch.
- Ping the IP address or access the web interface to see if it is accessible via the network.
Download:
- Download windows fax client for here.